
You may remember from this post that we replaced this light:

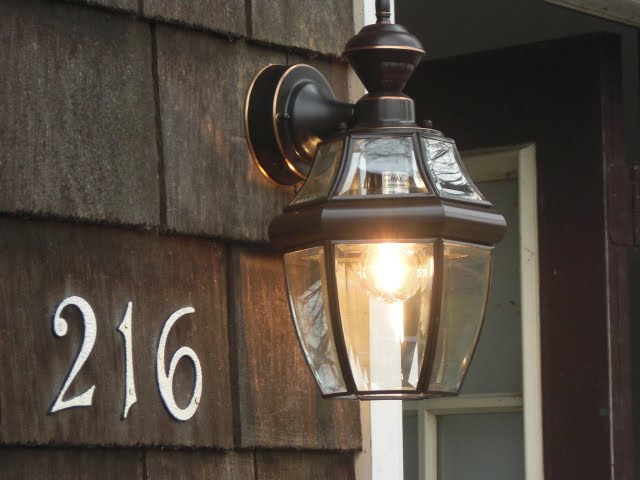
with this one:
That wasn't the end of our outdoor lighting story. Our house had two broken lantern-like lights on poles. You can just see one poking in on the right side of this picture:

The other one hidden up by the barn. You can just barely see it in this picture. It's just to the right of the thickest tree (almost parallel to the red pole sticking up from the plow of the truck):

We also have a wall sconce in the same black iron and yellow glass style in our sunroom next to our backdoor. Though ill-placed and less than appealing to look at, all of the lights are in okay structural shape and with a little re-wiring, they provide much needed light for our dark yard. I started brainstorming economical ways to transform the lights until we can move and/or replace them with a better style.
While wandering through my local Ace Hardware, I found sheets of Plexiglass for $5 a sheet. I took it as a sign that I was meant to immediately start on the outdoor lights. So, while at Ace, I also picked up an extra large can of Krylon Outdoor Copper spray paint.
Armed with my tools, I got to work. I replaced the old, yellow glass with textured plexiglass. Here's a before and after of the fixture near the front of the house:


To cut the plexiglass, I laid the sheet of plexiglass onto some old wood that I used as a home repair cutting board. I laid one of the glass panels on the sheet of plexiglass. Using a utility knife, I traced the outline of the glass piece onto the plexiglass, scoring the plexiglass about halfway through. I then very carefully folded the plexiglass until it broke into a clean line in the shape that I had scored into the plexiglass.

Once all of my pieces were cut, I replaced them in the light fixture. I love it. No more crazy yellow color. And, I can use the energy saving compact fluorescent lightbulbs (CFL). Before I changed the glass out for plexiglass, I didn't like that you could see the swirly shape of the lightbulb (I still used 'em, just begrudgingly). Not a problem now!
Here is the before and after of the light in the sunroom next to our backdoor (the top was removed for spray painting):


By the end of the week, the weather should be warm enough to spray paint the rest of the fixtures.